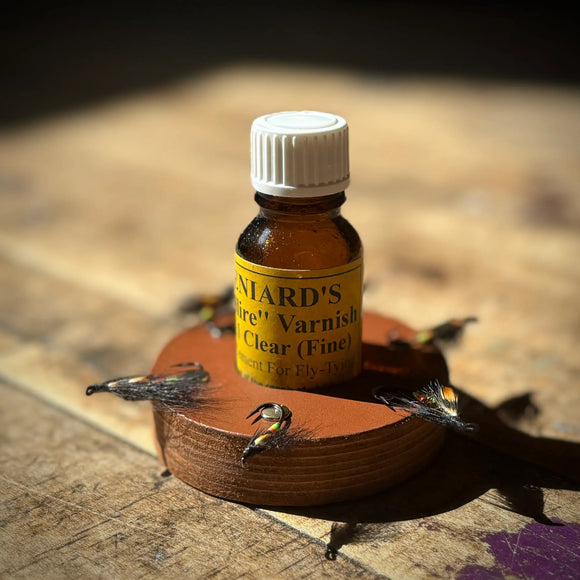
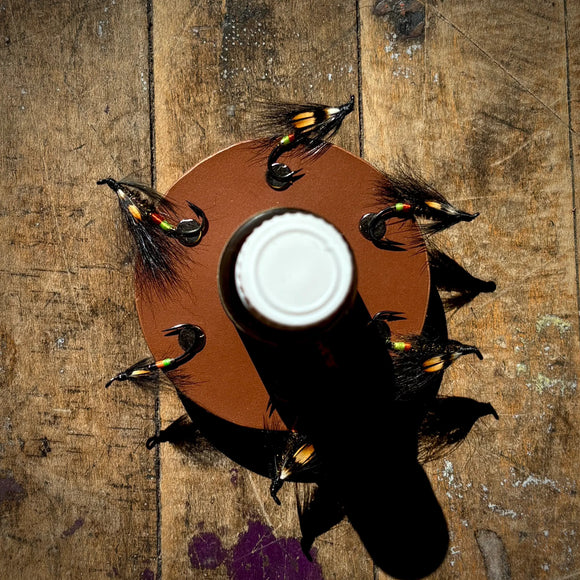
Created by Warren Duncan in 1979, the Undertaker has become a staple in the fly boxes of Atlantic Salmon and Steelhead anglers across the globe. After initially swinging through the rivers of New Brunswick, the Undertaker has taken on many iterations in size and profile. Personally, I have Undertaker variants in my fly boxes ranging from sparse size 12 single hooks to size 2 muddlers or spey-style versions.
The contrast of the dark leading half and colourful butt of the fly is said to be very effective at triggering reactionary strikes or takes by both Atlantic Salmon and Steelhead. The dark profile is particularly effective in low light conditions or the “tea stained” water of many salmon rivers, but can also be effective as a small, sparse fly on sunny days.

Recipe:
Thread: black thread suitable to fly size
Hook: Up eye Atlantic Salmon hook, single or double (i.e. Ahrex HR410 or HR428)
Tag: Gold flat tinsel, fluorescent green or chartreuse floss, and then fluorescent red floss (may notice I substituted Uni-yarn for floss)
Body: Gold rib over peacock herl. (Tinsel, small mylar, or golden Krystal Flash seem to work well here)
Hackle: Black, often tied as a throat but can be tied as a collar depending on the profile you are aiming for.
Wing: Black bear hair (I have noticed some fly tyers substitute with black moose hair, which may be ideal if planning to fish the fly using a “riffle hitch”).
Sides: Jungle cock (optional)
Head: Black thread finished with your choice of head cement.

Step 1: Choose your hook. Typically a single or double up eye Salmon hook.

Step 2: Connect thread, tie back to hook point and tie in your tag.

Step 3: tie in your butt (#12 gold mylar in this case).

Step 4: Tie in your green or chartreuse tag.

Step 5: Tie in red tag. Typically proportioned slight narrower than the green, but this can be personal preference

Step 6: Tie in gold ribbing (oval tinsel in this case)

Step 7: Tie in your peacock.
Tip- when your peacock herl is lined up, cut off the top 10% or so. This will decrease your likelihood of the peacock breaking off as you wrap.

Step 8: Wind your peacock herl forward. Leave enough room for your wing and throat to be tied in.
Tip- if planning to fish the fly on a “riffle hitch” be sure to leave slightly more room between the head of your fly and the eye of the hook.

Step 9: Wind your ribbing forward and tie off.

Step 10: Tie in a bunch of hackle (I find schlappen works well for this) as your throat. Some may choose to tie in a full collar depending on your preferred profile.

Step 11: Tie in your wing. Again, proportions may vary depending on profile you are looking for. Build a smooth head and whip finish. Throw on your favourite head cement.
Tip- Bear hair can be SLIPPERY. Tying wax or even a little super glue/zap-a-gap can be your friend here.
FLIES
Steelhead Fly Pack
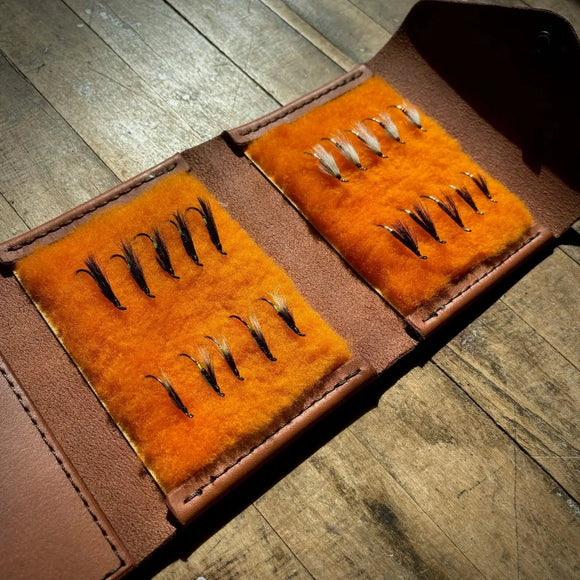

Salmon Fly Pack - #1
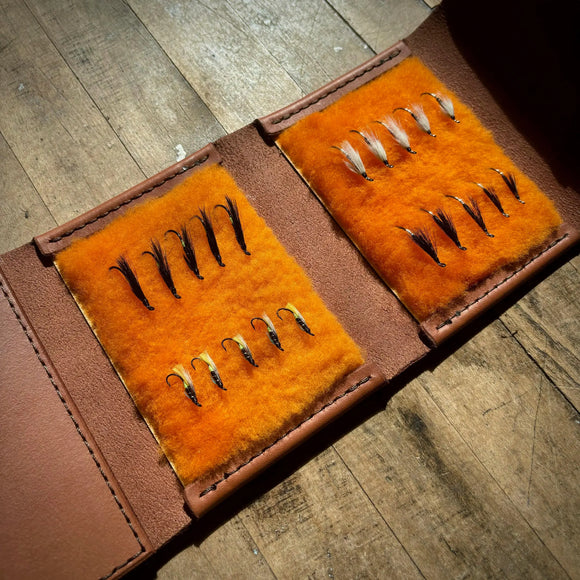

Salmon Fly Pack - #2
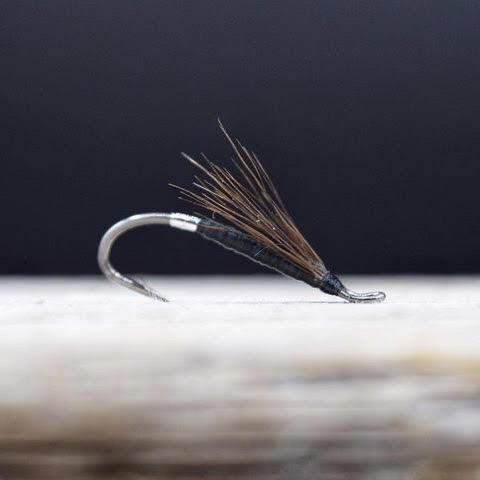
Black Silver Tip
FLY TYING
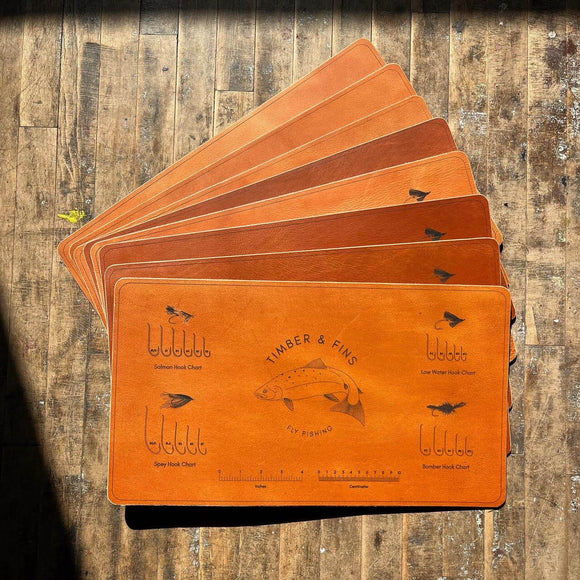
Salmon Fly Tying Leather Mat
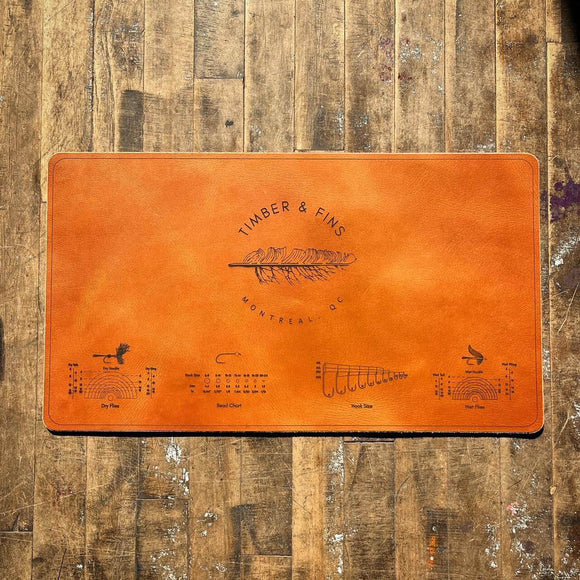
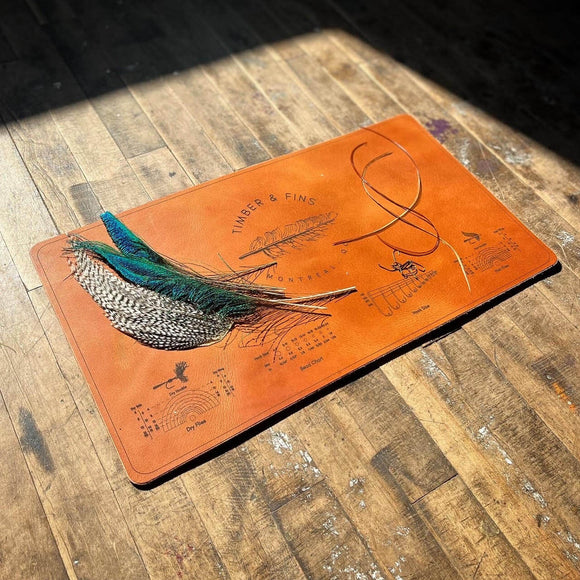
Fly Tying Leather Mat
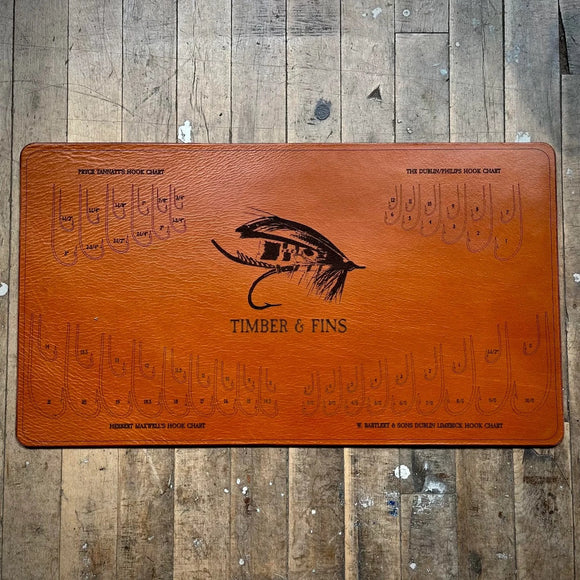
Heritage Fly Tying Leather Mat
